Easy Baby Cardigan Knitting Pattern
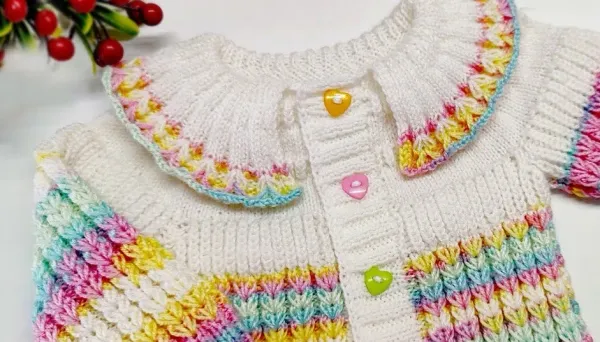
A two-colour baby cardigan with exact measurements, textured pattern rows, and adjustable sizing from newborn to 6 months. Everything you need — cast on to finished cardigan.
This baby cardigan is designed for newborns up to 6 months and uses a two-colour design that's adjustable as the baby grows. Chinki recommends buying a little extra yarn so you can extend the length later — a practical touch that experienced knitters will appreciate.
Measurements
- Length from armhole: approximately 6.5 inches
- Chest width: approximately 7.5 inches
- Sleeve length: approximately 6–6.5 inches
Materials
- Yarn in 2 colours
- 3 mm (size 11) knitting needles
- Buttons
- Tapestry needle
Step 1: Cast On and Ribbed Border
Cast on 122 stitches. Knit a ribbed border using 2 knit, 2 purl for several rows. Then increase every 6th stitch by knitting one stitch twice — this brings the total to approximately 142 stitches. Knit 2 foundation rows.
Step 2: Textured Pattern Section
Work the textured stitch pattern using a combination of knit, purl, and loop techniques. Repeat the pattern rows to build approximately 52 rows — or whatever length your measurements require.
After completing the pattern section, decrease stitches evenly across the row (every 5th stitch) and continue until you reach the armhole.
Step 3: Divide for Front and Back
Separate your stitches into two front panels and one back panel. Shape armholes by decreasing stitches gradually on both sides.
Step 4: Sleeves
- Pick up stitches from the armhole edges
- Increase to approximately 43 stitches for sleeve width
- Knit pattern rows, increasing and decreasing as needed for shaping
- Complete both sleeves identically
Step 5: Join and Shape
Bring all stitches back onto one needle and continue knitting the body in pattern. Decrease gradually — every 5th stitch, then every 4th, then every 3rd — to taper the shape toward the hem.
Step 6: Collar
Start ribbing (knit 2, purl 2) at the neckline. Add increases if needed for a comfortable fit around the neck. Knit several rows and bind off loosely so the collar doesn't restrict.
Step 7: Button Band and Finishing
- Pick up stitches along the front edge
- Knit ribbing and create evenly-spaced buttonholes
- Repeat on the other side (without buttonholes)
- Sew the sides neatly and attach buttons